Production Guide: How to Submit Screening Alerts Bulk Uploads
Last updated: March 3, 2025
Run your first set of Alert cases with Greenlite
Preparation
Please create a spreadsheet containing Screening Alert information for Greenlite’s review. Use the Alert Submission spreadsheet below to understand the required fields:
Refer to the Example Alert Submission spreadsheet for the required fields, which include:
Alert Text/Watchlist Entity Information:
Include details about the alert and the entity being screened against the customer. This information is typically presented as a text block. “Alert Text” should occupy one column in the provided spreadsheet.
Information in the Alert Text Includes:
Type of Alert: (e.g., Sanctions, PEP, Adverse Media, relevant Codes, if applicable)
Match Entity Information: Include details such as entity name, date of birth (DOB), location (Address, Country, City, State), employment or activity information, and relevant links, as available.
Customer Information:
Provide as much detail as available on the customer being screened, with each field structured as an individual column in the spreadsheet:
Name
Date of Birth (DOB)
Location (Address, Country, City, State)
Employment
Step-by-Step Guide
1. Log in to Greenlite Account
Go to us.greenlite.ai
Login using your email address.
Click on the Screening Alerts tab

2. Click on the New Case Tab
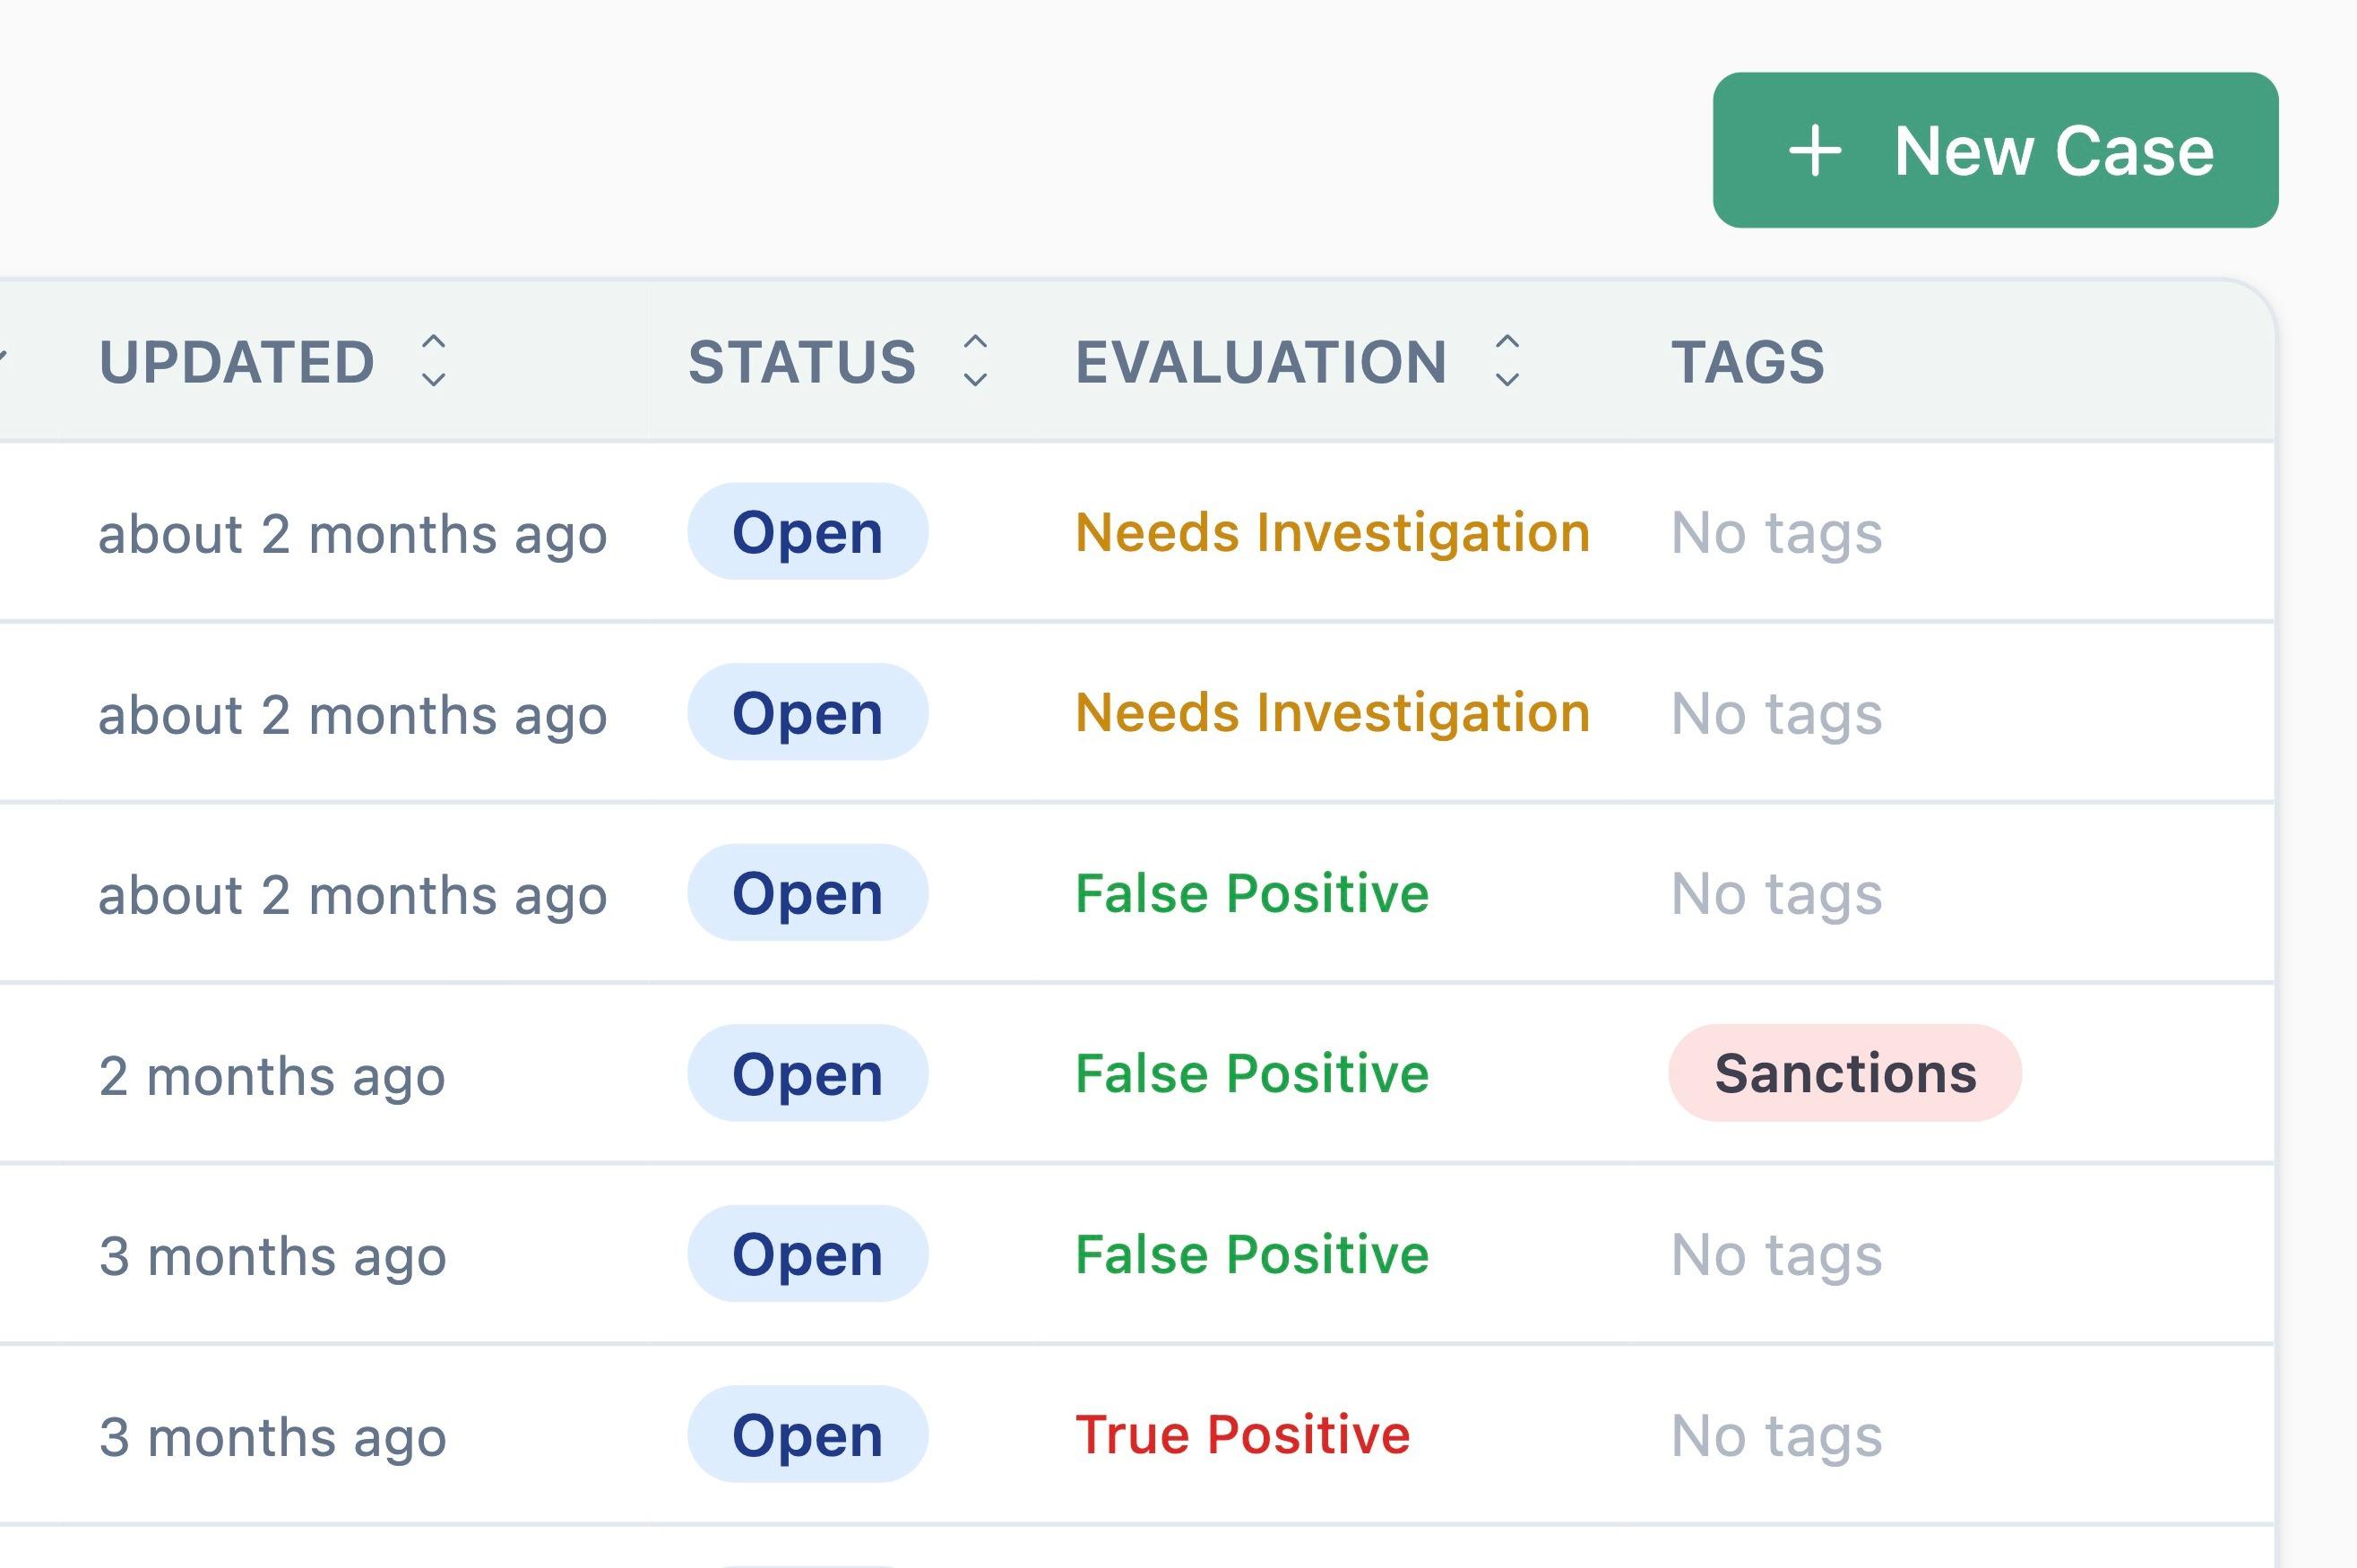
3. Click on Bulk Upload

4. Upload the documents for Greenlite to use:
Upload the prepared spreadsheet with screening alert information for review.

4. Click the Submit button and ensure all documents are listed in the table:

5. Configuration Process
Once your documents are uploaded, our team will begin configuring Greenlite to match your desired output format and requirements.
6. Results Review
You'll receive an email notification when your results are ready to review.
How to Access Cases:
1. Navigate to the Screening Alerts Tab and Click on any Case in the Open Case Table

2. Review the contents of each case
